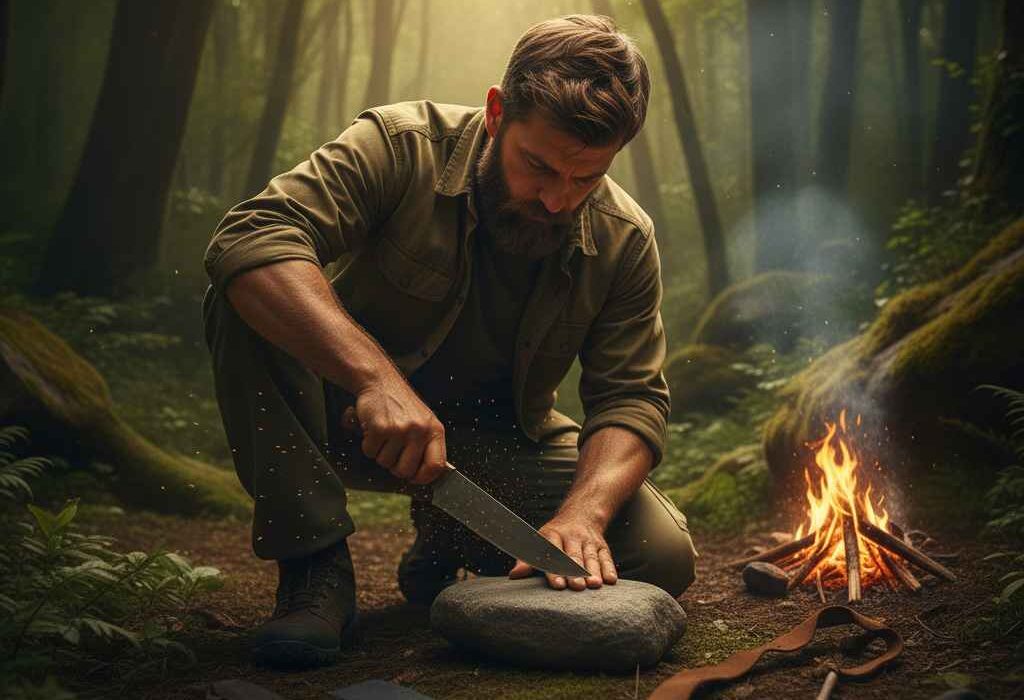
In a survival scenario, your knife is your most important tool, but a dull knife is arguably more dangerous than having no knife at all. A dull blade requires excessive force to cut, increasing fatigue and the risk of the blade slipping and causing a severe injury.
When your specialized sharpening stones are nowhere to be found, your immediate environment becomes your toolkit. The secret to improvised sharpening is understanding the principle: you need two materials of different hardness to grind the steel to a fine edge.
1. ⚙️ The Principle: Finding Abrasive Surfaces
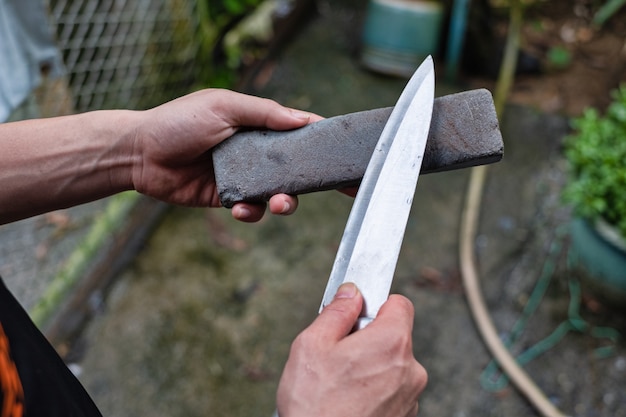
A quality sharpening stone works because it is harder than the steel of your knife blade. In the field, you must find natural or man-made surfaces that mimic this hardness and abrasive texture.
A. Natural Stones (The Field Whetstone)
Look for fine-grained stones that don’t crumble when rubbed.
- Best Candidates: Look for fine-grained sandstone, slate, or basalt. These stones often feel smooth but have enough abrasive particulate to grind metal.
- Avoid: Stones with large, visible crystalline structures (like granite) or very soft, porous stones.
- Technique: Find a flat, smooth area on the rock. Apply a few drops of water (or saliva) to the surface to act as a lubricant and keep the dust (swarf) clear. Use the same motion as a regular whetstone.
B. Ceramic Surfaces (The Urban Edge)
In urban or developed areas, ceramic surfaces are excellent substitutes for fine-grit stones.
- Best Candidates:
- The unglazed rim (foot ring) of a ceramic mug or plate. This is the rough, porous ring on the bottom of kitchenware. It is extremely hard and fine-grained.
- The smooth, unglazed back of ceramic tiles.
- Technique: Flip the mug upside down and use the rough ring as your sharpening surface. Because this surface is very fine, it is best for honing an already semi-sharp blade rather than fixing a severely dull one.
2. 🛡️ Fixing the Edge: The Coarse and Fine Approach
Sharpening a very dull blade requires two stages: a coarse stage to set the bevel (the angle) and a fine stage to create the smooth, sharp edge.
A. Coarse Grinding (For Severely Dull Edges)
- Materials: Concrete or the smooth, non-exposed side of a brick (which is often rougher than the face).
- Technique: Use a very light pressure and a low angle ($\sim 20$ degrees). Since these surfaces are very coarse, they will rapidly remove metal. The goal here is speed, not perfection.
B. Fine Honing (For a Working Edge)
- Materials: Ceramic mug rim, smooth river stones, or the leather from a belt or boot.
- Technique: After coarse sharpening, you must smooth the edge. This is done by running the blade at a high angle (sim 25-30 degrees) gently over the fine surface. Use very light pressure.
3. 🔪 The Final Stage: Stropping
After sharpening, the blade will have a microscopic burr (a tiny curl of metal) on the edge. Stropping removes this burr and aligns the steel for a razor-sharp finish.
- Materials: The rough side of an old leather belt, the inside of a leather boot cuff, or even a smooth piece of tightly packed cardboard.
- Technique: Lay the leather flat. Run the blade away from the cutting edge (spine first) down the leather, applying moderate pressure. Repeat this motion 10-20 times per side.
4. 📐 Maintaining the Angle
The key to all sharpening is maintaining a consistent angle. For most survival knives, aim for an angle between 18 and 25 degrees.
- The Finger Technique: Place your index finger alongside the spine of the knife as you sharpen. Use your finger as a guide to help maintain the blade’s distance from the sharpening stone.
By mastering these techniques, you ensure that your most critical survival tool remains functional and safe, turning unexpected obstacles into a usable part of your kit.


")


